Install
The theme installs like any other WordPress theme. If you're replacing an older version, use Overwrite — settings and content are preserved.
Download the theme
toolplaybook.zipSave this file locally, then follow the steps below to upload it into WordPress.
Steps
1. Upload the theme
Appearance → Themes → Add New Theme. On a fresh install you'll see WordPress's default themes and an Upload Theme button at the top.

Click Add New Theme, then Upload Theme — a "Choose File" form appears.
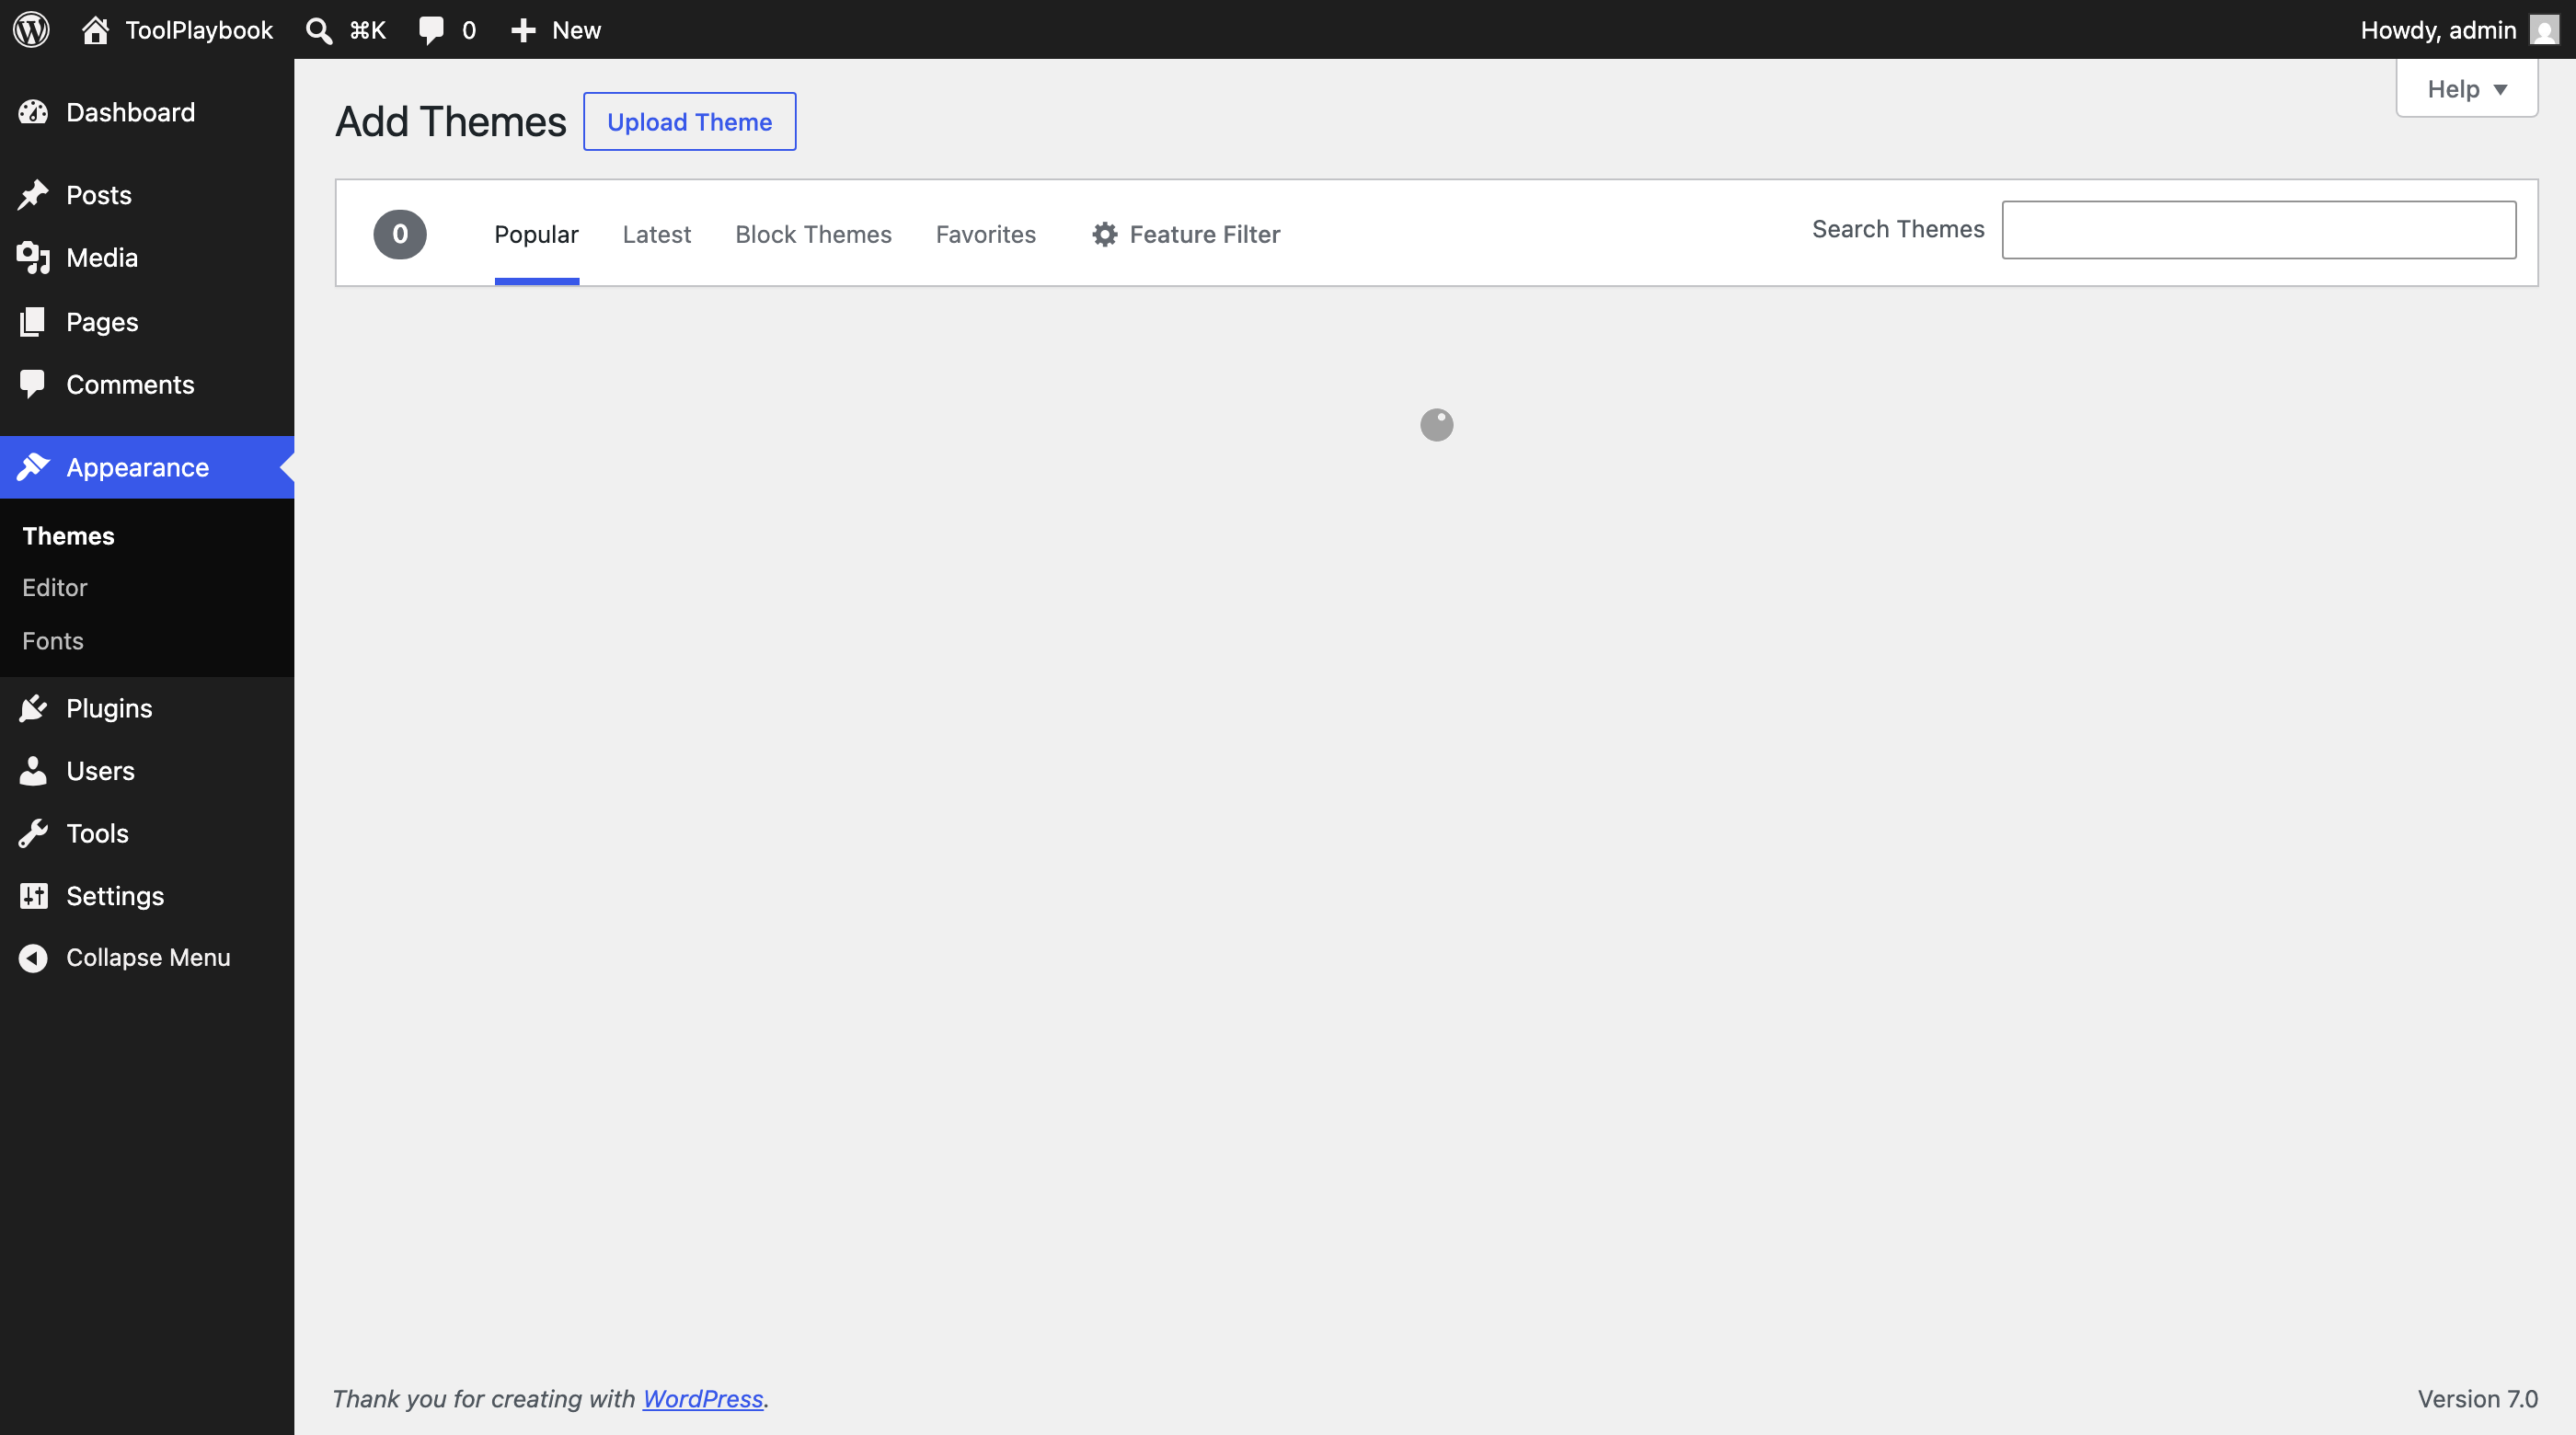
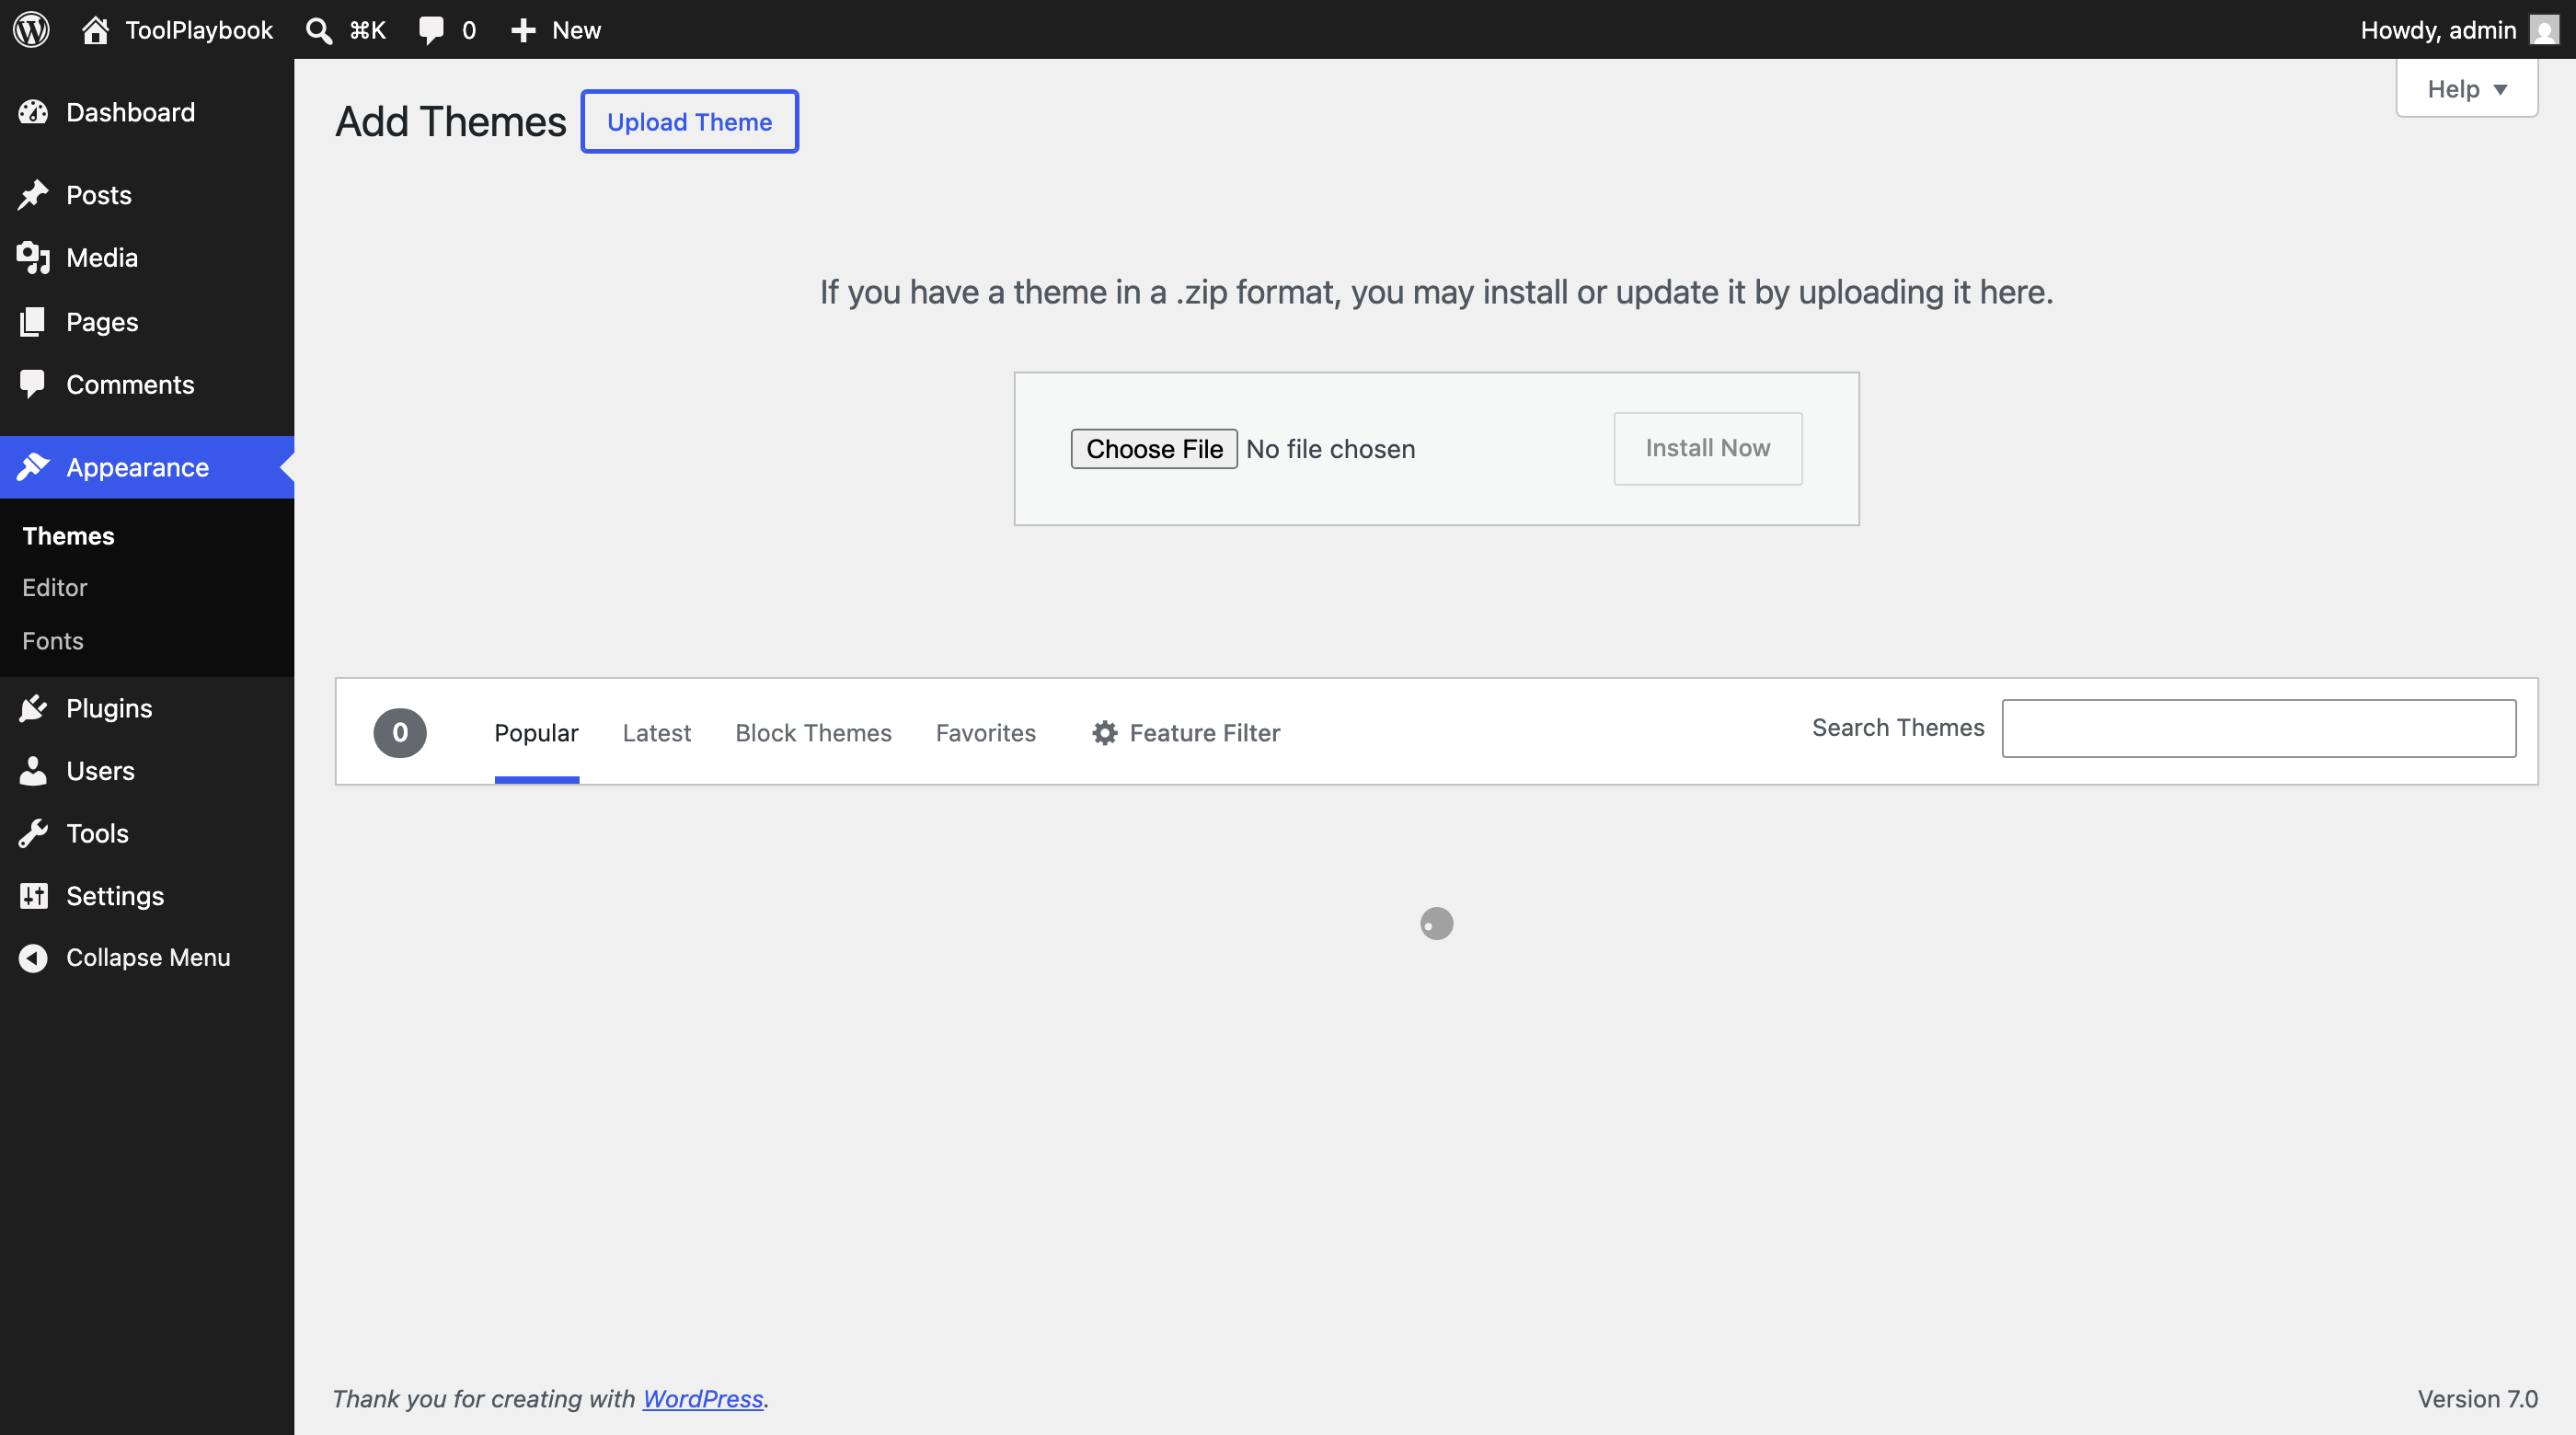
Pick toolplaybook.zip, click Install Now, and wait a few seconds while WordPress uploads and extracts it. If you're replacing an older version, check Replace current with uploaded on the confirmation prompt — your settings and content are preserved.
After the upload finishes, WordPress shows the theme in the Themes gallery with an Activate button on hover.
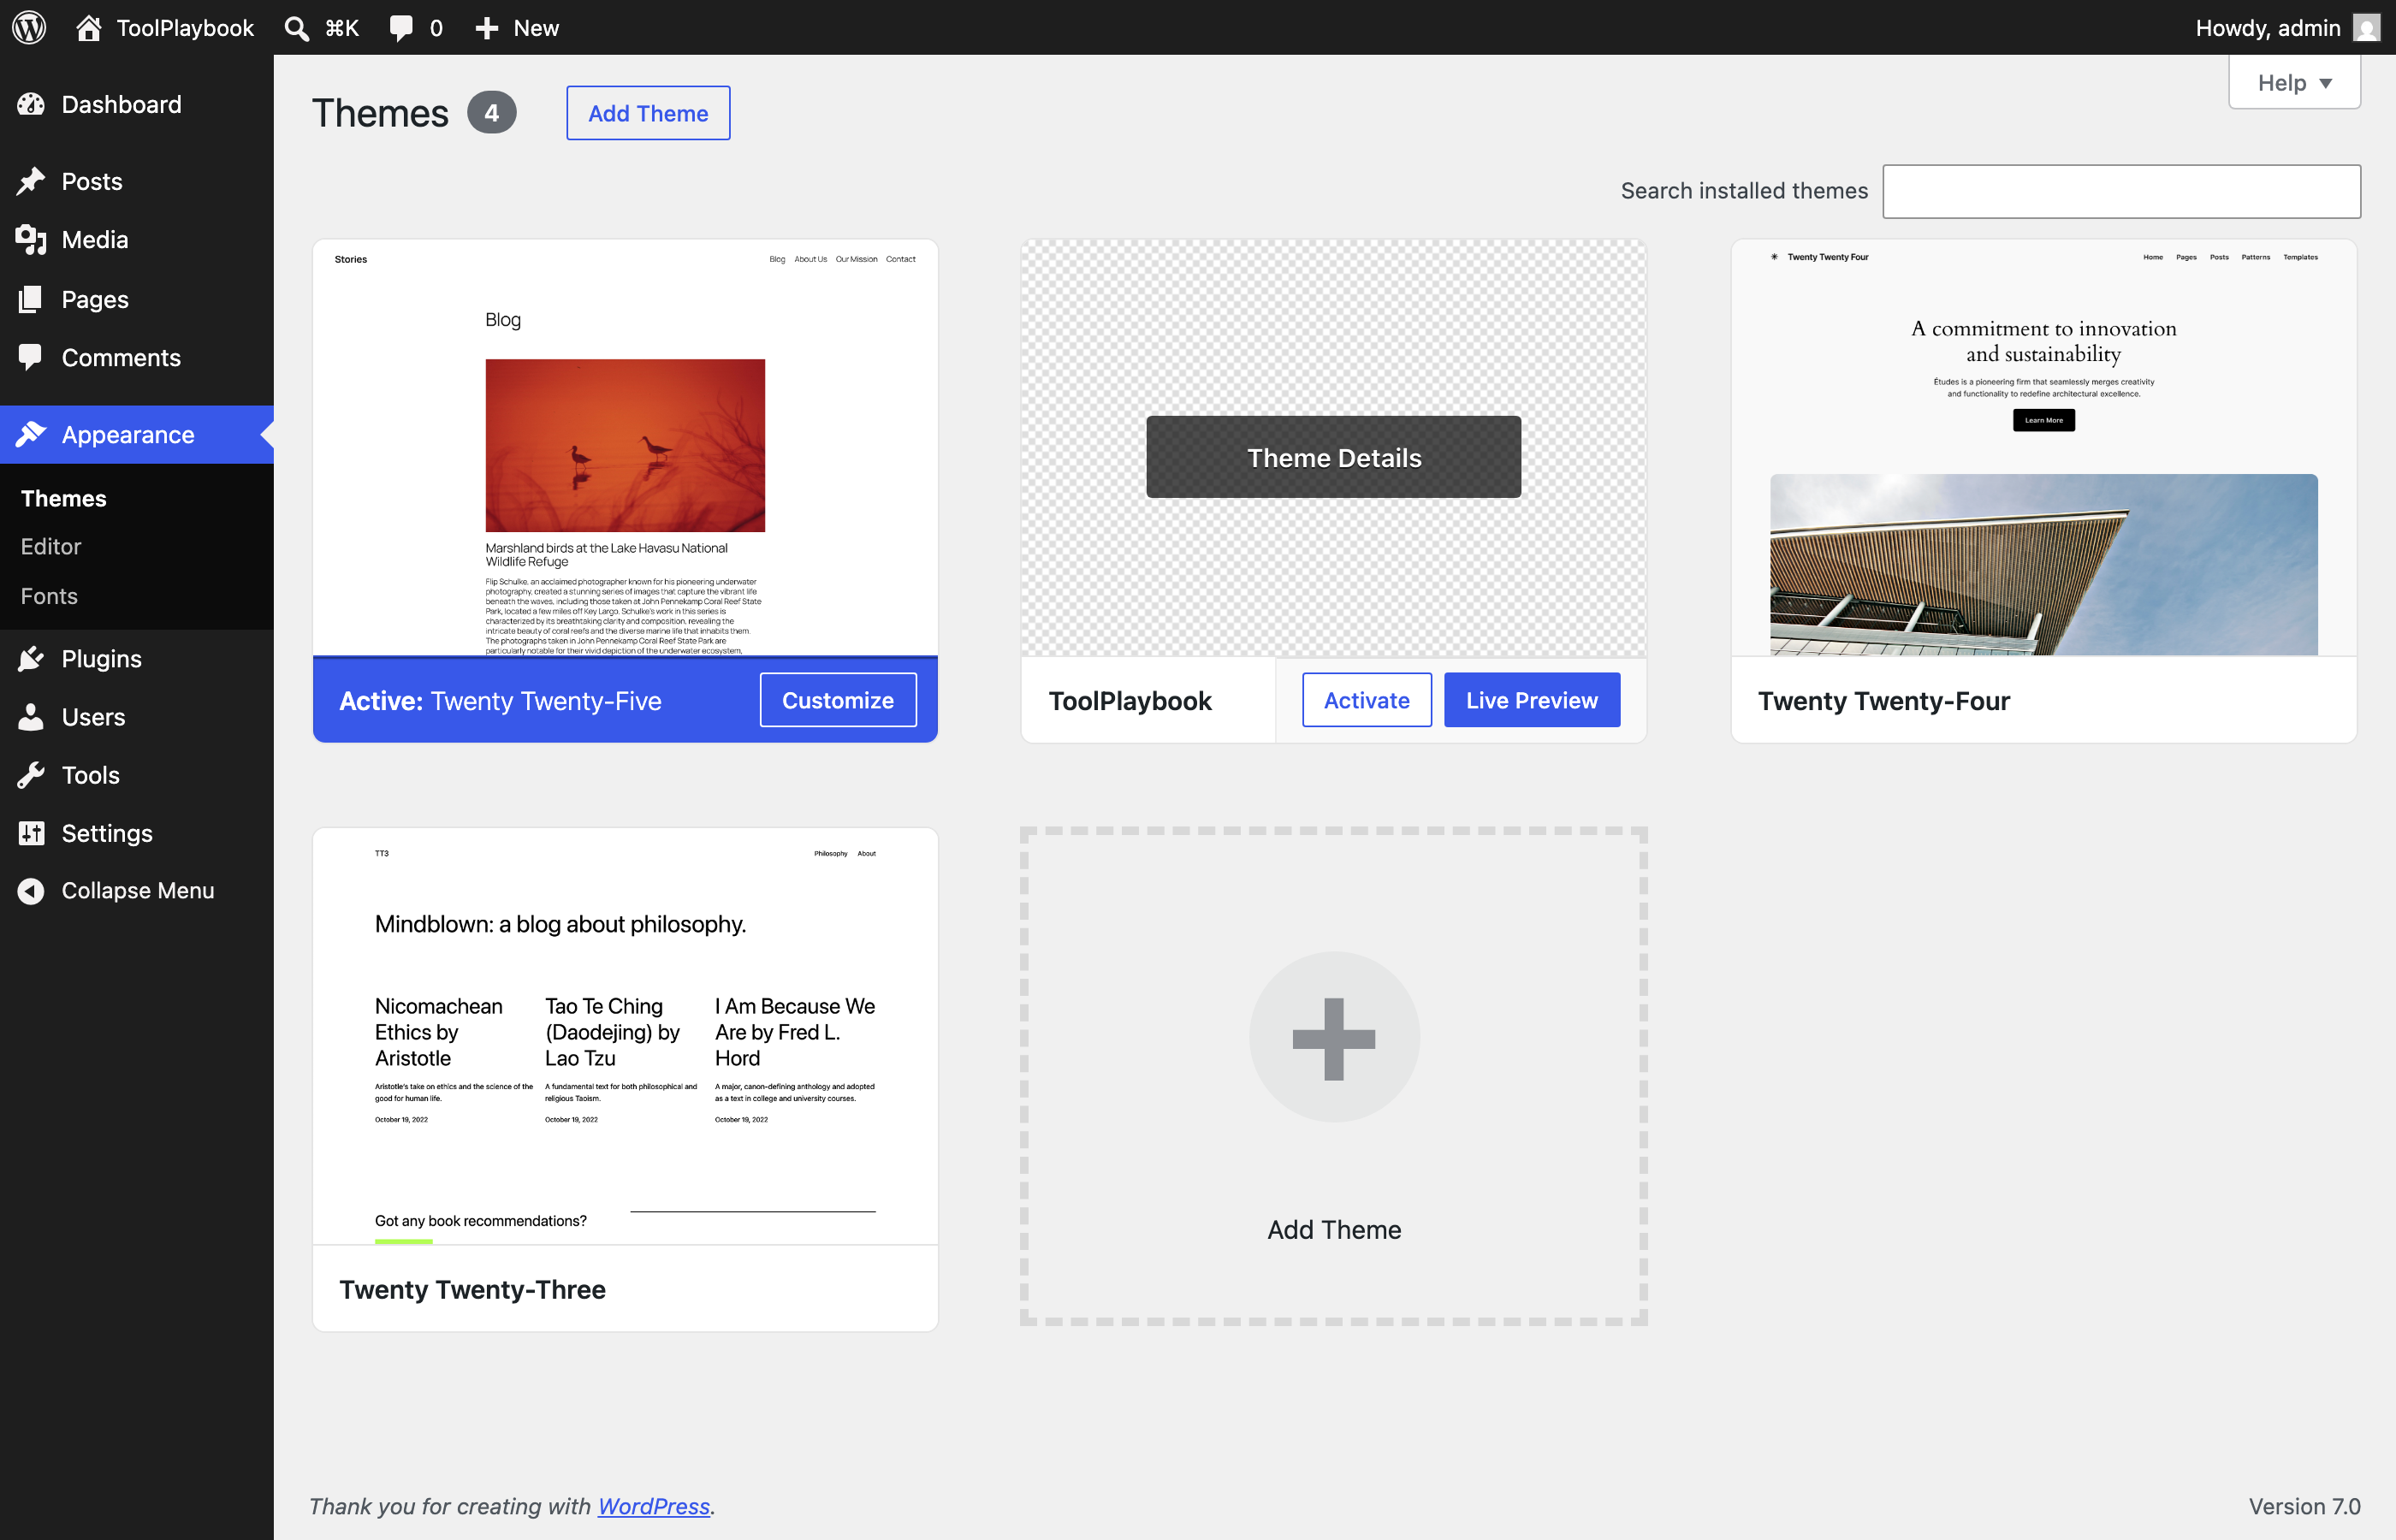
Click Activate. You'll see a green "New theme activated" banner and the Themes screen re-renders with ToolPlaybook marked as Active.
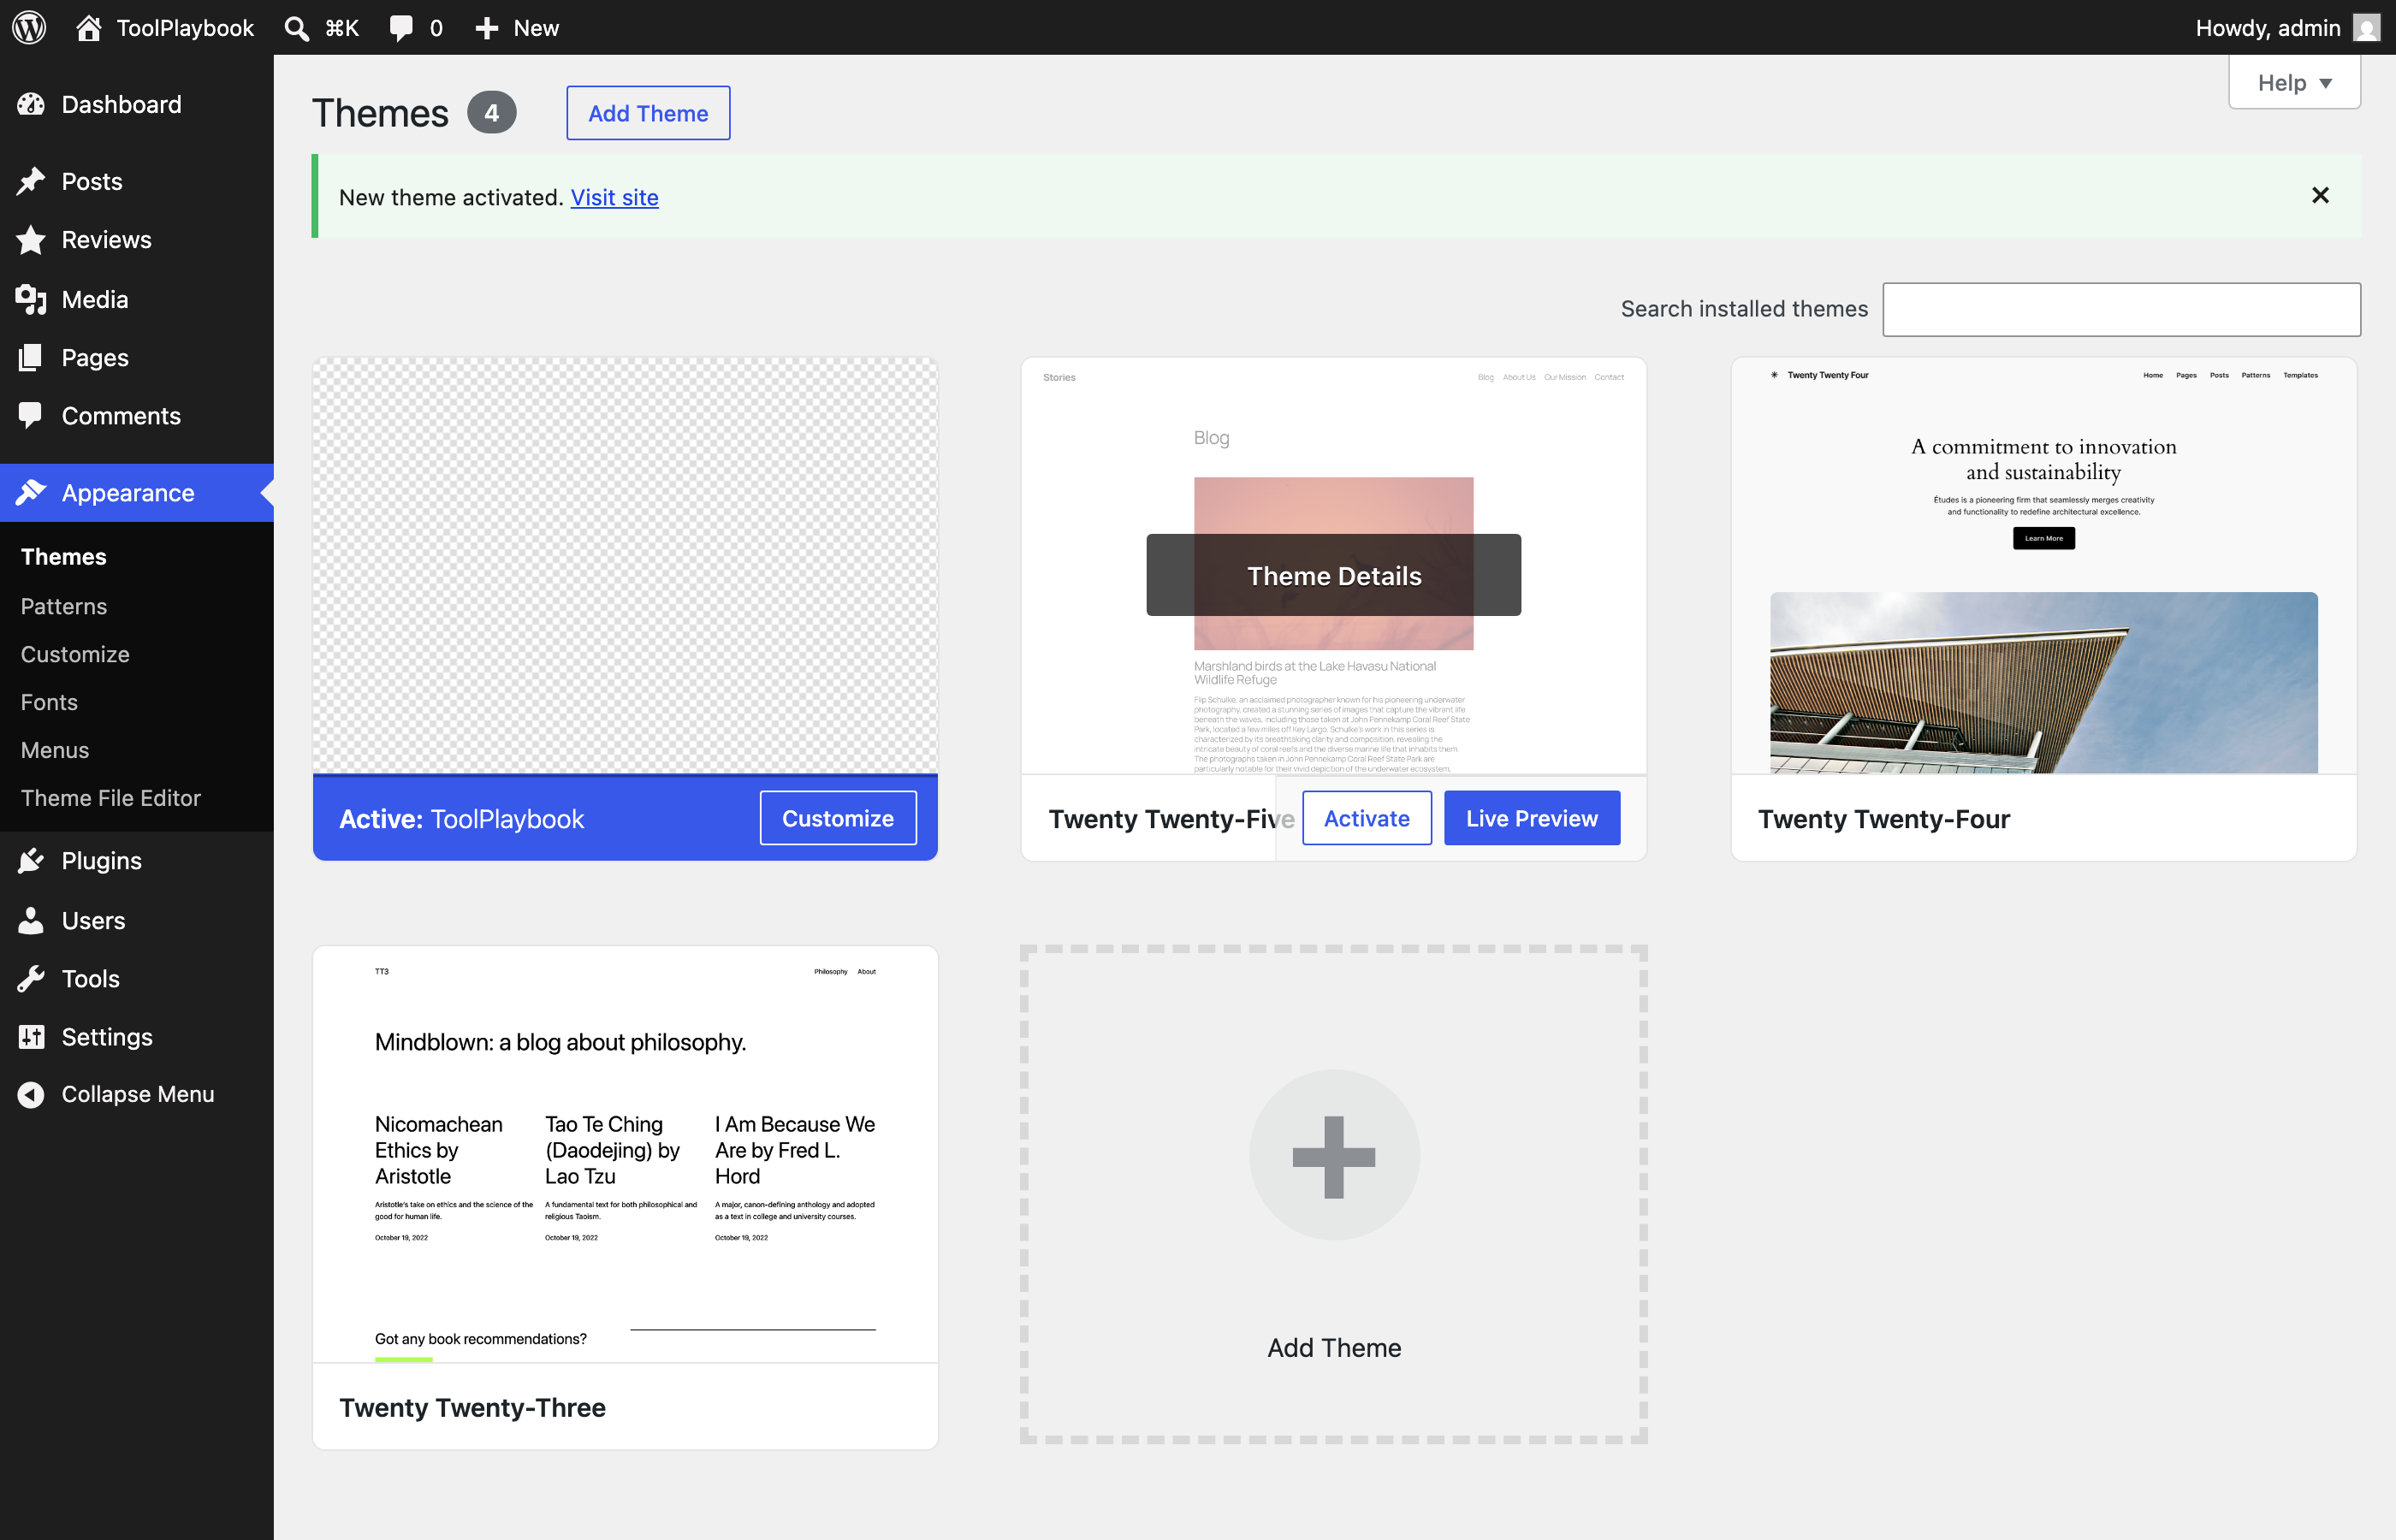
Notice the sidebar picks up new menu items — Reviews, Customize, Fonts, etc. Those come from the theme.
2. Flush permalinks
Settings → Permalinks → Save Changes (click Save even if you didn't change anything — this forces WordPress to re-register the review post type's rewrite rules).
Without this step, /reviews/, /reviews/category/<slug>/, and single-review URLs won't resolve.

3. Set the blog page
Settings → Reading:
- Your homepage displays → A static page
- Homepage → leave empty (the theme uses
front-page.phpregardless) - Posts page → Blog (create this page first if it doesn't exist yet)

Without a Posts page assigned, /blog/ will 404 or render the wrong template.
4. Create the site pages
Pages the theme expects at least once:
| Slug | Title | Template |
|---|---|---|
/about/ | About | About page |
/contact/ | Contact | Contact page (paste your form's shortcode into the body) |
/affiliate-disclosure/ | Affiliate Disclosure | Prose / legal page |
/privacy-policy/ | Privacy Policy | Prose / legal page |
/blog/ | Blog | (no template — assign as Posts page in step 3) |
Set the template via the Page Attributes → Template dropdown on the right sidebar of the page editor.
5. Purge any cache
If LiteSpeed Cache (or any other cache plugin) is active, purge everything to clear stale HTML from the previous theme:
LiteSpeed Cache → Toolbox → Purge All
What happens on activation
The theme auto-creates six default Review Categories:
- CRM Software (
crm) - Email Marketing (
email) - SEO Tools (
seo) - Funnel Builders (
funnels) - Form Builders (
forms) - Project Management (
pm)
You can rename, delete, or add more via Reviews → Categories.
Rewrite rules are also flushed automatically on activation. If you ever run into /reviews/… URLs 404-ing after a change, re-save Settings → Permalinks.
Plugins to install
Optional but recommended:
- Rank Math SEO — the theme auto-adds the review CPT + review categories to Rank Math's sitemap. Enable schema on
Rank Math → Titles & Meta → Reviewsif you want structured data. - Fluent Forms — for the contact form + the blog sidebar newsletter. Paste the shortcode into the Customizer (see Customizer reference).
- LiteSpeed Cache — if your host bundles it, keep it. If not, WP Rocket or WP Super Cache is fine.
Verify install
Load these URLs after activating:
/— homepage renders with hero scorecard + category grid + top-scored + blog teaser/reviews/— reviews archive with filter chips + search/reviews/gohighlevel/(or any review slug) — single review with scorecard sidebar/blog/— blog index with featured post + chip nav/sitemap_index.xml— should listreview-sitemap.xmlandreview_category-sitemap.xml/this-does-not-exist/— custom 404 with search + shortcuts
If any of those don't work, the most common cause is step 2 (permalinks not saved) — go back and re-save Settings → Permalinks.